Blog Post #5
I promise to get the pictures of all the projects I’ve made using IF WISHES WORE WINGS up for you to view. Being a new blogger has presented me with new challenges…like learning a new camera and it’s video settings so you can really watch what I’m doing ‘live and in person’, and of course finding regular times to fit my blogs into the day…I am enjoying the virtual journaling and hope you aren’t finding my carrying on too boring…I know we are all visually creative people and photos keep us inspired. So thanks for your patience with me.
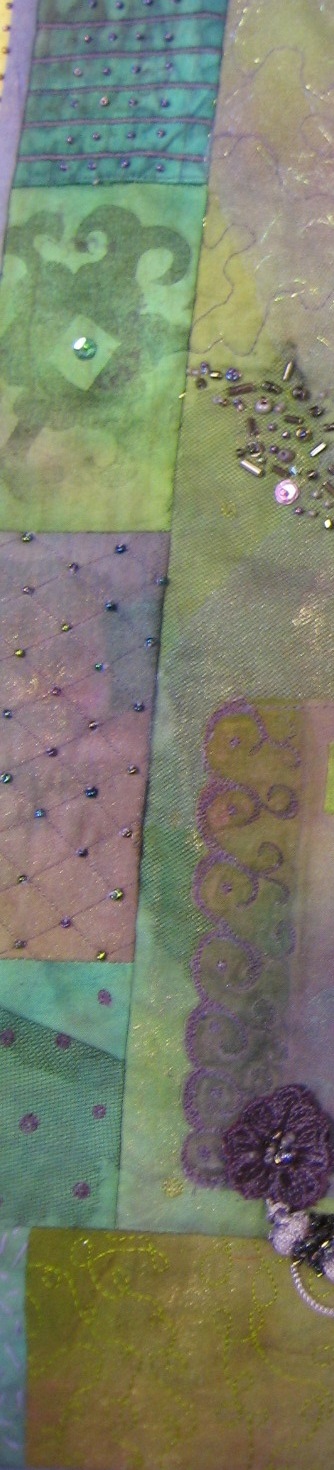
I can tell you a little about my latest project now being finished up in my studio right now… “When Time Flies” using our IF WISHES WORE WINGS embroidery design collection. I have used the wings on the design collection and the new KreativeKollage technique done in the hoop to create a fun wallhanging clock…this project also uses several if not all of the other design components on the collection. The final finished surface we layer, collage and create will then be stretched over a painters canvas and a simple working clock hardware will be added in an offset corner.
A noteworthy product note: I just love SewSoft batting (check with your sewing machine dealer – and encourage them to carry it if they don’t already) It is a fabulously soft, lightly fusible sheer batting. And I use it on all of my fabric pieces in the IF WISHES WORE WINGS’ design collection. It is light enough to embroider on for a bit of ‘loft’ texture and yet, fine enough to be included in the ¼” construction seams of your project. You may still want to use a light tear-away stabilizer. I ‘line’ all of my fabric pieces with this fusible batting and then embroider them. Most other battings that I have used end up to thick to have in the seam when piecing.
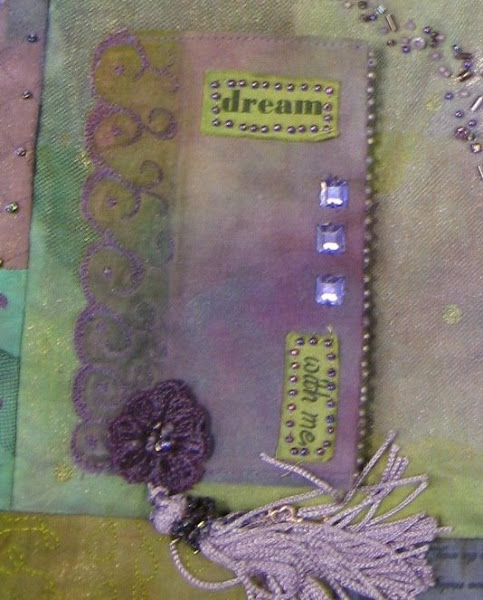
I want to share one of my absolute best tips if your machine has an embroidery basting feature (this might just be one of the very best things they have ever thought of!): When stitching out a collection of textured and embroidered borders I like to use the largest hoop that’s available for my machine…I use the 360x200 or larger. I hoop a layer of medium weight stabilizer in the hoop. Next, using the screen of the machine, I strategically plan to fit as many of the border section pieces as will fit in the hoop. But…bring them in one at a time. Then I baste a stitching line on the stabilizer only. This is an indication where to lay my fabric piece. If you printed out my hand-dyed fabrics I’ve included on the CD, this will also allow you to use your printed pieces of the fabric without any waste. After I lay my cut piece of fabric down on the stitched stabilizer, I repeat the baste stitch to hold the fabric border strip in place. Then I embroider the piece. When finished move the border or bring up a new border and place in the screen and repeat the process. This helps save you time by not having to re-hoop and gets the most out of your hooped stabilizer piece.
Tip#2: I’ve intended these textured and embroidered border designs to be stitched in the hoop, cut up in smaller sections and stitched back together altering the order of them for a fun border effect on your wallhangings, handbags or quilts. If using a long or endless hoop, combine two borders end to end, and stitch. This may save time and since these sections embroidery quickly anyway, you will be able to make several in no time at all!
We have a class on Saturday making Holiday Tags in our hoops...wouldnt it be great to add a small set of wings to your tags...add some clear vinyl to the mix and you have a great gift card holder...pix are on the way (finishing up samples for class and then will post!)
Facebook Badge
"If Wishes Wore Wings" Embroidery Collection
CD Includes Wishes Printable Fabrics, Embroidered ARtAngel Florence, Stippled and Dot Backgrounds, Texture Quilted Borders, WingedWished Door, 3D Flowers, words of inspiration and our new technique "KreativeKollage" in your hoop!
KreativeKindness

We chose an amazing winner for our KreativeKindess Award and machine giveaway! We're very proud of her personal strengths and all she's done to help children! Enjoy your new machine!
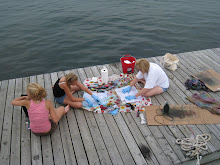
The Girls & I, Sitting on the Dock 'o the Bay
Dying fabrics for 'If Wishes Wore Wings' Embroidery Collection
What would Wilma do?

My Superhero by day, Fred by night...meet him in an upcoming post!
A daily dose of inspiration...
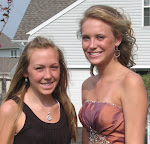
I just looooove my girls!
An ARtAngel Quilt
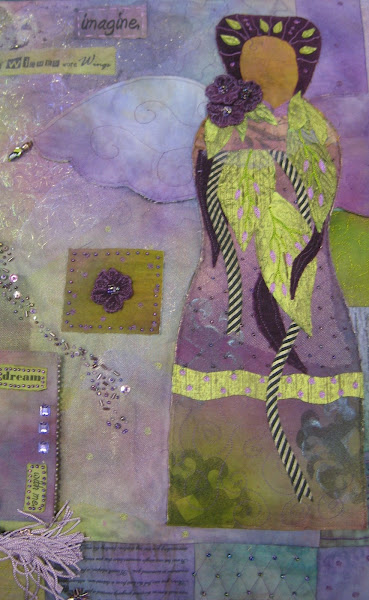
Imagine...If Wishes Wore Wings
An embroidered secret door
Tuck your message behind a quilted WishDoor from IF WISHES WORE WINGS Design Collection by Cactus Punch
1964 Mom (Florence) & I
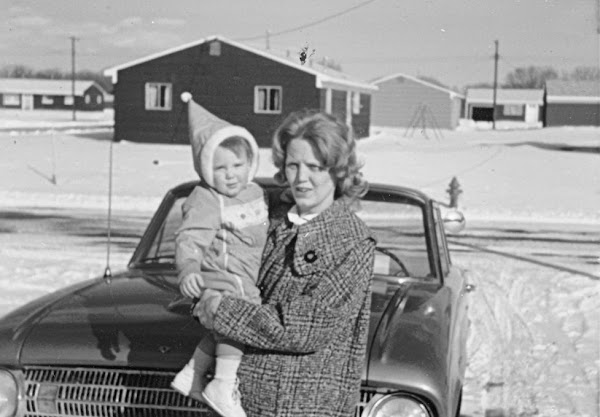
Florence, our first ARtAngel is dedicated to my mother who lived young with the attitude, "When I get old I shall I wear purple"...only sometimes there's a bigger plan